

Solution
Local Installation (Installing from CD-ROM Setup)Download Installation (Installing from the [Printers and Faxes] Folder or the [Printers] Folder)
Download Installation (Installing from [Windows Explorer])
There are two ways to install the printer driver on client computers: local installation and download installation.

You install the printer driver using the CD-ROM supplied with the printer.
You install the printer driver without using the CD-ROM supplied with the printer, but by downloading the printer driver from the print server. There are the following two ways to download and install the printer driver.
- Installing from the [Printers and Faxes] Folder or the [Printers] Folder
- Installing from [Windows Explorer]
Caution
- Windows XP SP2 or later
- Windows Server 2003 SP1 or later
If you download and install the printer driver on client computers on which a 32-bit operating system other than the above is running, you may fail to install the driver and may not be able to open the screen of the printer driver.
- Windows XP SP2 or later
- Windows Server 2003 SP1 or later
- Windows Vista
Local Installation (Installing from CD-ROM Setup)
1. Turn the computer on and start up Windows.
2. Log on as a user with administrator rights.
Caution
If you are not sure about the permissions, ask your computer administrator.
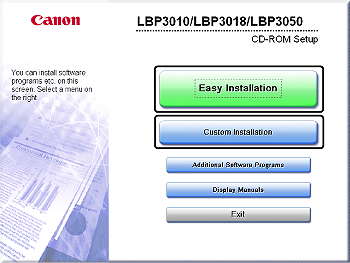
3. Insert the "LBP3010/LBP3018/LBP3050 (or LBP3100/LBP3108/LBP3150) User Software" CD-ROM supplied with the printer into the CD-ROM drive.
If the CD-ROM is already in the drive, eject the disk and re-insert it into the drive.
Caution
- If you are using an operating system other than Windows Vista, select [Run] from the [Start] menu, enter "D:\English\MInst.exe", and then click [OK].
- If you are using Windows Vista, enter "D:\English\MInst.exe" in [Start Search] under the [Start] menu, and then press the [ENTER] key on your keyboard.
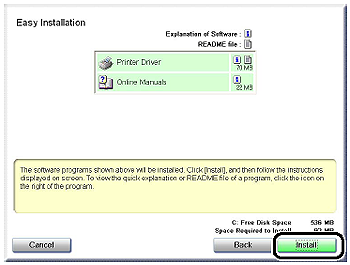
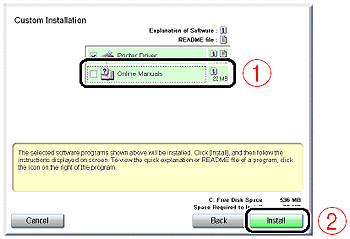
4. Click [Easy Installation] or [Custom Installation].
5. Click [Install].
If you selected [Custom Installation] in Step 4, clear the [Online Manuals] check box (1), and then click [Install] (2).
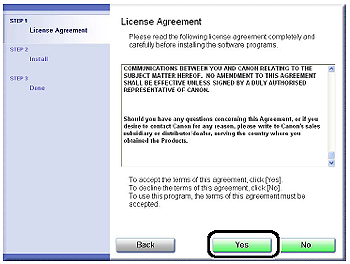
6. Confirm the contents, then click [Yes].
7. Click [Next].
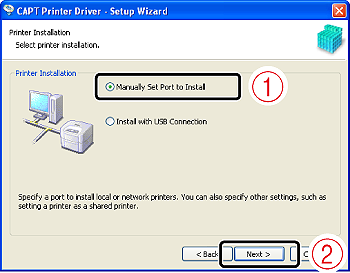
8. Select [Manually Set Port to Install] (1), then click [Next] (2).
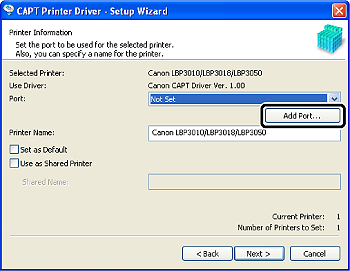
9. Click [Add Port].
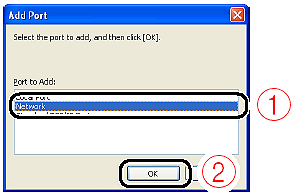
10. Select [Network] (1), then click [OK] (2).
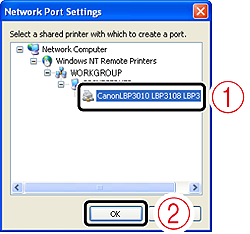
11. Select the icon for the shared printer in the print server (1), then click [OK] (2).
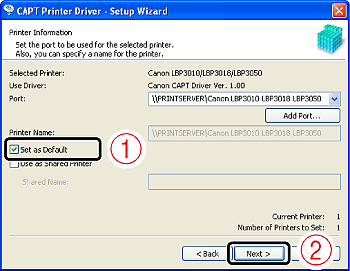
12. Select whether or not to use this printer as the default printer (1), then click [Next] (2).
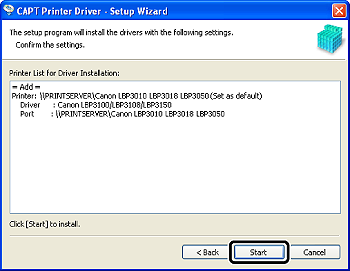
13. Click [Start].
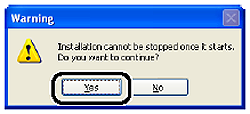
14. Click [Yes].
If you are using Windows Vista, the [Printers] dialog box appears. Click [Install driver].

Installation of the printer driver starts.
If [Easy Installation] was selected in Step 4, User's Guide is installed after the printer driver installation.
Caution
Depending on the system environment, the installation may take a long time.
15. Confirm the installation results, then click [Next].
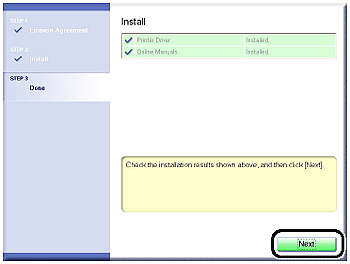
Caution
If the printer driver is not installed properly, see "User's Guide" (HTML manual) in the CD-ROM supplied with the printer.
16. Select the [Restart Computer Now (Recommended)] check box (1), then click [Restart] (2).
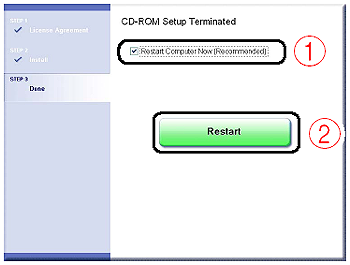
Windows restarts.
The installation of the printer driver is completed.
You can take the CD-ROM out of the CD-ROM drive after the installation is completed.
Download Installation (Installing from the [Printers and Faxes] Folder or the [Printers] Folder)
The procedure for installing the printer driver from the [Printers and Faxes] folder or the [Printers] folder varies depending on your operating system. See the following according to your operating system.

1. Turn the computer on and start up Windows Vista.
2. Log on to Windows Vista.
Caution
A user without administrator rights can also install the printer driver.
If you log on as a user without administrator rights, however, you need the password for a user with administrator rights during the installation.
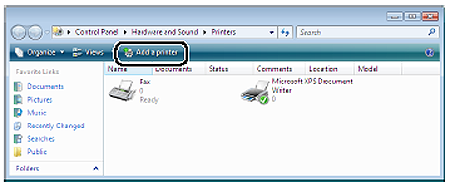
3. Display the [Printers] folder.
From the [Start] menu, select [Control Panel], and then click [Printer].
4. Click [Add a printer].
5. Click [Add a network, wireless or Bluetooth printer].
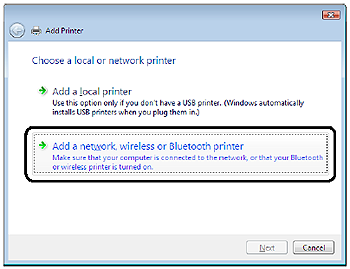
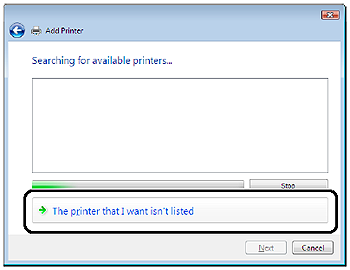
Searching for the printer on the network starts automatically.
6. Click [The printer that I want isn't listed].
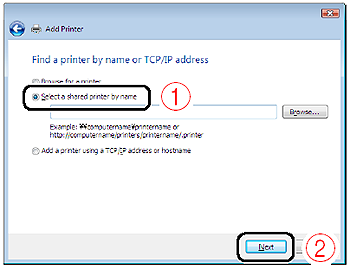
7. Select [Select a shared printer by name] (1), then click [Next] (2).
8. Select the printer on the print server (1), then click [Select] (2).
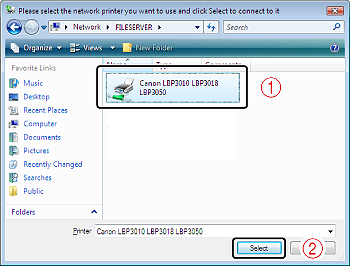
Caution
When specifying the path to the network using "\" directly, specify it as "\\the print sever name (the computer name of the print server)\the printer name".
9. Click [Install driver].
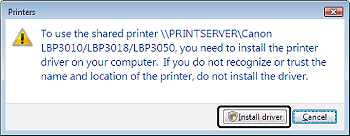
Caution
If the [User Account Control] dialog box appears, click [Continue].
10. Click [Next].
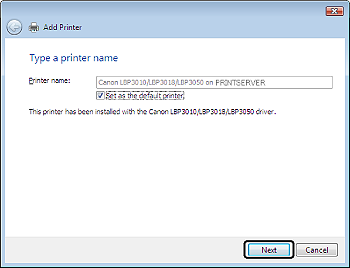
Caution
If another printer driver has already been installed in the computer, [Set as the default printer] appears. If you want to specify the printer as the default printer, select the [Set as the default printer] check box.
11. If you want to print a test page, click [Print a test page].

A confirmation dialog box appears. Click [Close] to close the dialog box.
12. Click [Finish].
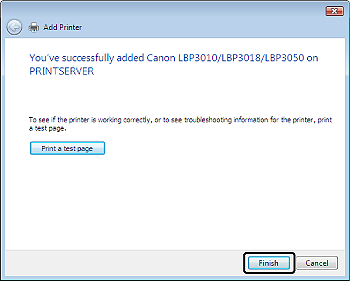
The installation of the printer driver is completed.
1. Turn the computer on and start up Windows XP/Server 2003.
2. Log on to Windows XP/Server 2003.
Caution
A user without administrator rights can also install the printer driver.
3. Display the [Printers and Faxes] folder.


From the [Start] menu, select [Printers and Faxes].

From the [Start] menu, select [Control Panel], and then click [Printers and Other Hardware] ⋗ [Printers and Faxes].
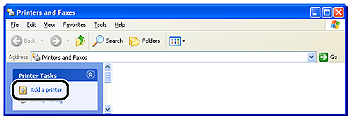
4. Display [Add Printer Wizard].

Click [Add a printer].
Double-click [Add Printer].
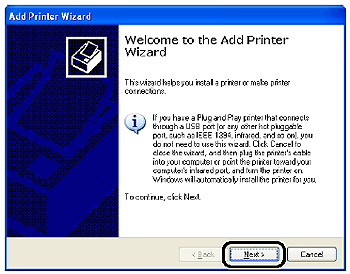
5. Click [Next].
6. Select [A network printer, or a printer attached to another computer] (1), then click [Next] (2).

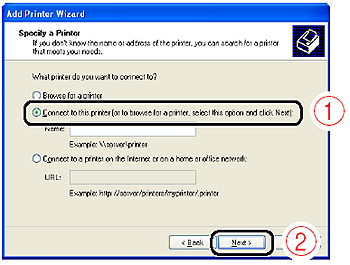
7. Select [Connect to this printer (or to browse for a printer, select this option and click Next)] (1), then click [Next] (2).
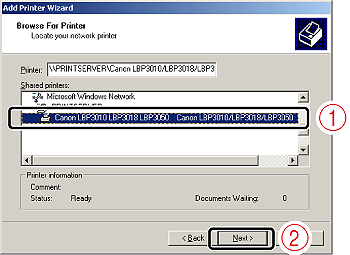
8. Select the printer on the print server (1), then click [Next] (2).

Caution
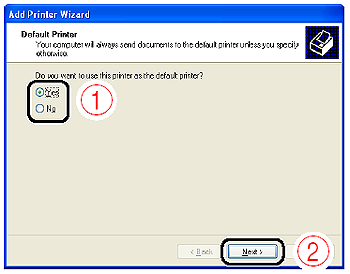
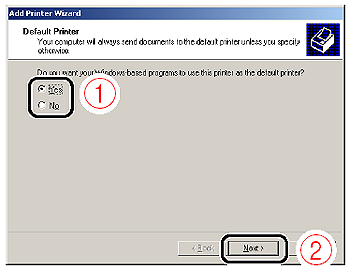
9. If the following screen appears, select whether or not to use this printer as the default printer (1), and then click [Next] (2).
10. Click [Finish].
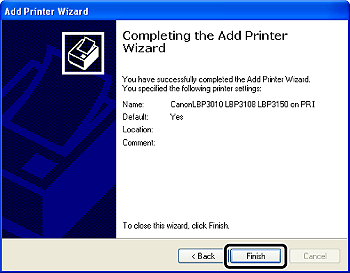
The installation of the printer driver is completed.
1. Turn the computer on and start up Windows 2000.
2. Log on to Windows 2000.
Caution
A user without administrator rights can also install the printer driver.
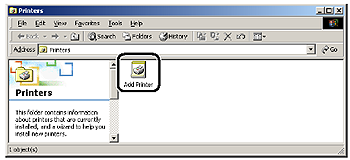
3. Display the [Printers] folder.
From the [Start] menu, select [Settings] ⋗ [Printers].
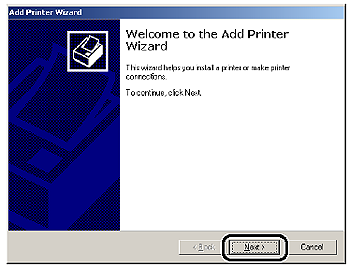
4. Double-click [Add Printer].
5. Click [Next].
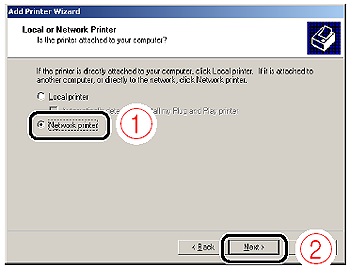
6. Select [Network printer] (1), then click [Next] (2).
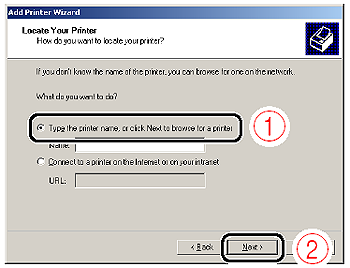
7. Select [Type the printer name, or click Next to browse for a printer] (1), then click [Next] (2).
8. Select the printer on the print server (1), then click [Next] (2).
Caution
When specifying the path to the network using "\" directly, specify it as "\\the print sever name (the computer name of the print server)\the printer name".
9. Select whether or not to use this printer as the default printer (1), then click [Next] (2).
10. Click [Finish].
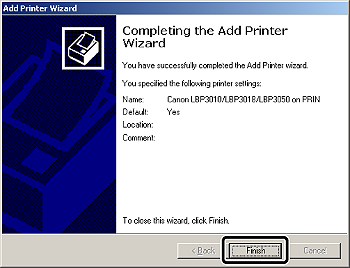
The installation of the printer driver is completed.
Download Installation (Installing from [Windows Explorer])
1. Turn the computer on and start up Windows.
2. Log on to Windows.
Caution
A user without administrator rights can also install the printer driver.
If you log on to Windows Vista as a user without administrator rights, however, you need the password for a user with administrator rights during the installation.
3. Display [Windows Explorer].

From the [Start] menu, select [Programs] ⋗ [Accessories] ⋗ [Windows Explorer].

From the [Start] menu, select [All Programs] ⋗ [Accessories] ⋗ [Windows Explorer].
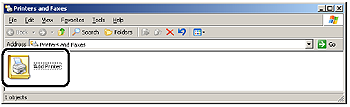
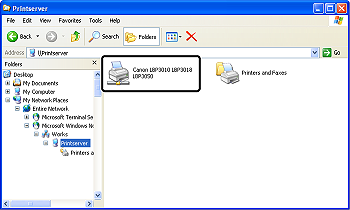
4. Select the print server from [My Network Places] (from [Network] for Windows Vista), then double-click the icon for this printer.
Alternatively, you can drag and drop the icon for the printer into the [Printers and Faxes] folder or [Printers] folder.
5. Follow the instructions on the screen.
The installation of the printer driver is completed.