

Solution
You can adjust the audio recording level of the built-in or an external microphone.
1. Set the mode switch to ⋖

2. Set the power switch to ⋖CAMERA⋗.

3. Touch [ 
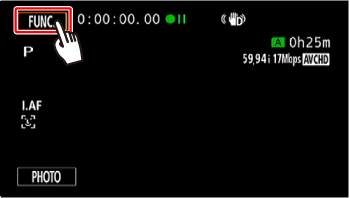
4. 

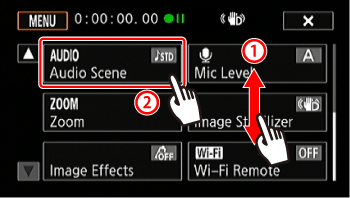
5. Touch [ 
6. Touch [ 
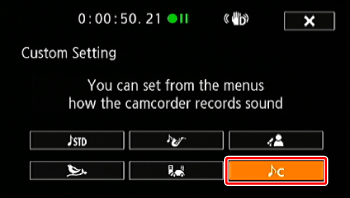
7. Touch [
8. 

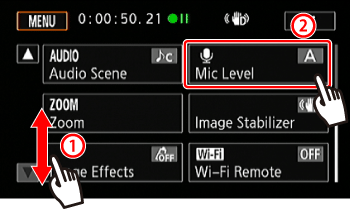
9. Touch [ 
10. Touch and hold [ 

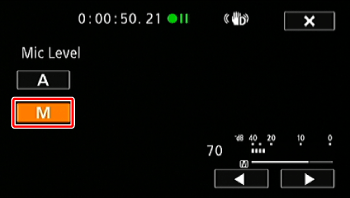
As a guideline, adjust the audio recording level so that the audio level meter will go to the right of
the 18 dB mark (one mark right of the 20 dB mark) only occasionally.
Caution
Touch [ 
11. Touch [
Caution
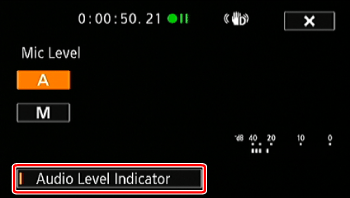
Usually, the audio level indicator will be displayed only after activating the manual adjustment of the audio recording level. You can choose to display it also when the audio level is adjusted automatically.
1. Touch [
2. Touch [Audio Level Indicator]
3. Touch [
Caution