When you want to print on paper that is not loaded in the paper drawer, load the paper in the multi-purpose tray. Load the paper that you usually use in the paper drawer.
For the MF735Cx
Caution
Make sure to insert the paper drawer
Caution
When loading A5 size paper
Specifying Paper Size and TypeLandscape orientation
Portrait orientation
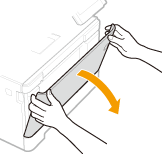
1. Open the cover.
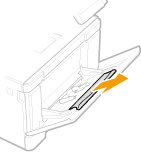
2. Pull out the paper tray.
3. Spread the paper guides apart.
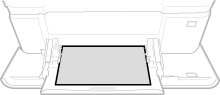
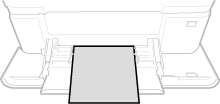
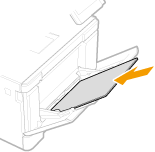
4. Insert the paper into the multi-purpose tray until the paper stops.

Do not exceed the load limit line when loading paper
 ). Loading too much paper can cause paper jams.
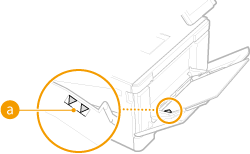

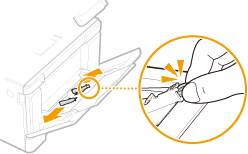
5. Align the paper guides against the edges of the paper.
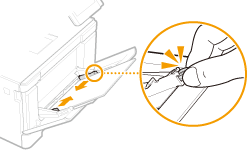
Align the paper guides securely against the edges of the paper
For the MF635Cx / MF633Cdw / MF631Cn
Caution
Make sure to insert the paper drawer
Load only one sheet of paper at a time
Caution
When loading A5 size paper
Specifying Paper Size and TypeLandscape orientation
Portrait orientation
1. Spread the paper guides apart.

2. Insert the paper and align the paper guides against the width of the paper.
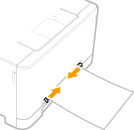
Align the paper guides securely against the edges of the paper
3. Insert the paper slowly into the rear of the manual feed slot.

Loading Envelopes
Make sure to flatten any curls on envelopes before loading them. Also pay attention to the orientation of envelopes and which side is face up.

Follow the procedure below to prepare the envelopes before loading.
Caution
1. Close the flap of each envelope.

2. Flatten them to release any remaining air, and make sure that the edges are pressed tightly.

3. Loosen any stiff corners of the envelopes and flatten any curls.

4. Align the edges of the envelope on a flat surface.

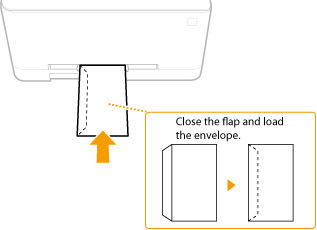
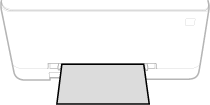
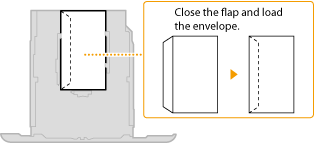
Load the envelopes Monarch, COM10, DL, or ISO-C5 in portrait orientation (with the long edges on either side), with the non-glued side (front side) face up. You cannot print on the reverse side of envelopes.
Caution
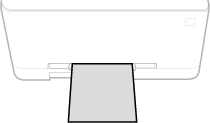
Load the envelopes Monarch, COM10, DL, or ISO-C5 in portrait orientation (with the short edge toward the machine), with the non-glued side (front side) face up. You cannot print on the reverse side of envelopes.
Caution
MF735Cx
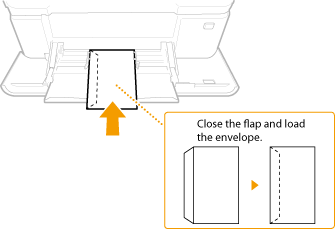
MF635Cx / MF633Cdw / MF631Cn