

If a paper jam occurs during printing, the following messages appear in the Printer Status Window.
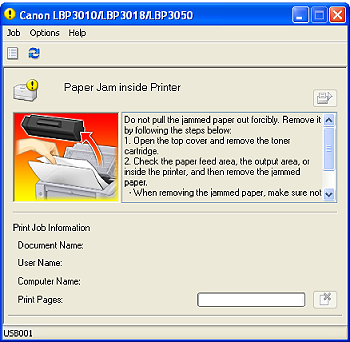
Procedure for Clearing Paper Jams
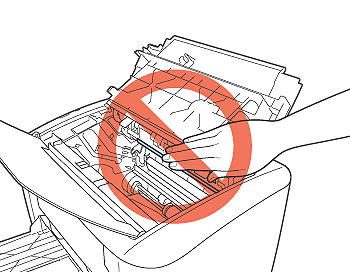
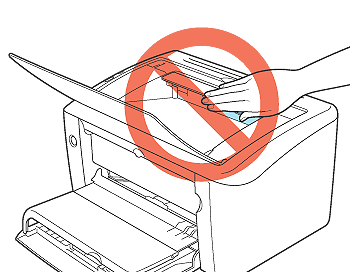
Caution
Even if you can see the paper jammed in the output tray, do not remove it. Be sure to follow the instructions below to remove the jammed paper.
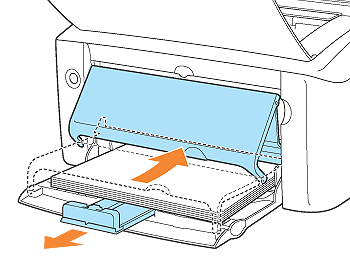
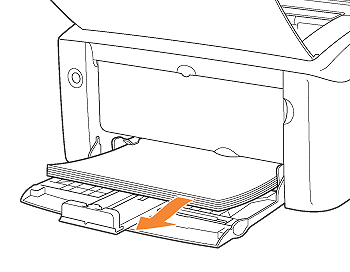
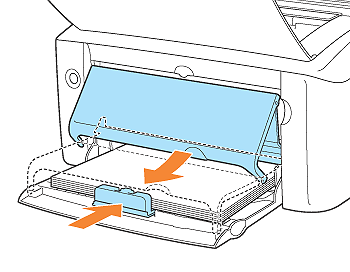
1. Remove the paper loaded in the multi-purpose tray.
Fold up the tray cover, pull out the rear paper guide, and then remove the paper.
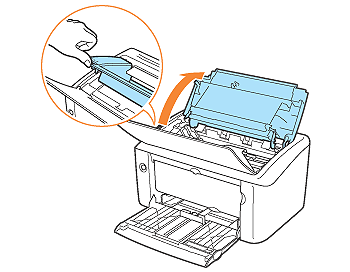
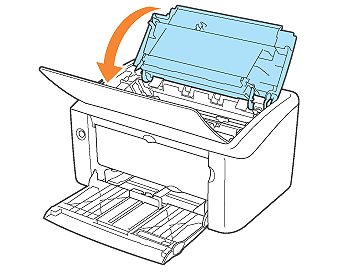
2. Open the top cover.
Place your finger in the groove on the top cover and open.
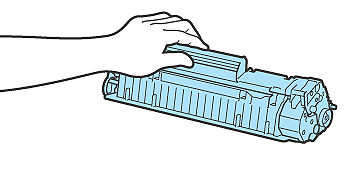
3. Remove the toner cartridge from the printer.
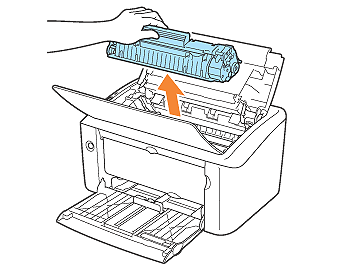
Immediately place the removed toner cartridge into the original protective bag or wrap it with a thick cloth.

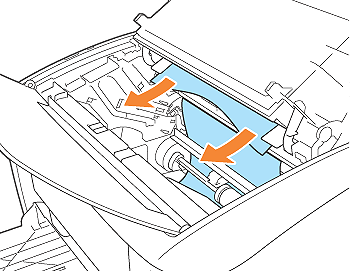
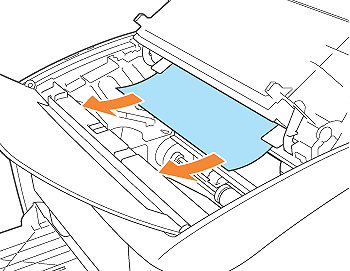
4. Remove any jammed paper.

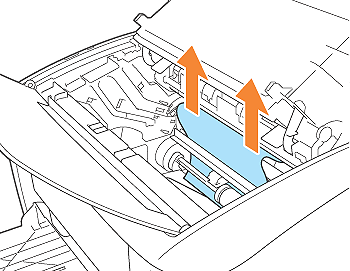
4-A-1. Remove the jammed paper by pulling it upward slowly.
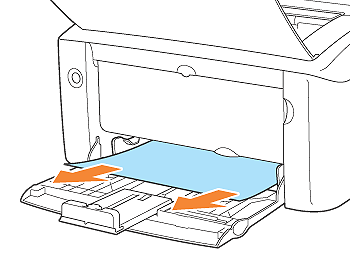
4-B-1. Remove the jammed paper by pulling it from the multi-purpose tray or manual feed tray.
4-C-1. Pull the jammed paper upward slowly.
4-C-2. Remove the jammed paper by pulling it horizontally.
5. Install the toner cartridge.
5-1. Take the toner cartridge out of the protective bag or thick cloth.
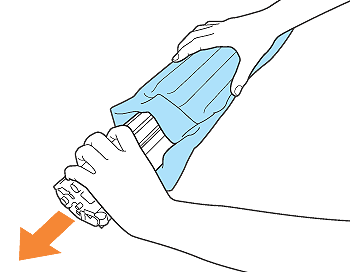
5-2. Hold the toner cartridge properly as shown in the figure.
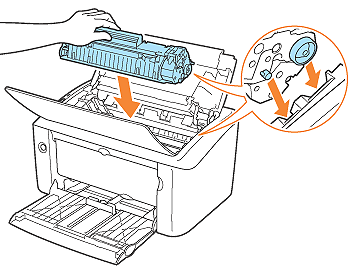
5-3. Push the toner cartridge into the printer firmly until it touches the back of the printer while aligning projections on both sides of the toner cartridge with the toner cartridge guides inside the printer.
6. Close the top cover.
7. Load paper, align the rear paper guide with the paper, and then extend the tray cover.
If the paper fed from the manual feed tray is jammed, load paper in the manual feed tray.
Precautions on Clearing Paper Jams
Caution
Caution
For details on handling the toner cartridge, see [Precautions for Handling the Toner Cartridge].