Solution
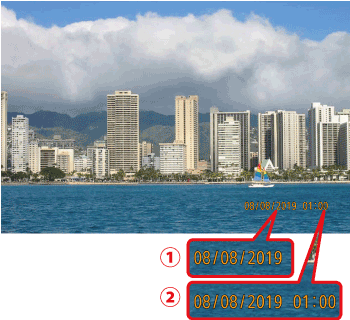
The camera can add the shooting date to images, in the lower-right corner.
However, note that date stamps cannot be edited or removed, so confirm beforehand that the date and time are correct.
Caution
The procedure for adding a date stamp to images during shooting is explained below.
1. Turn the camera on.
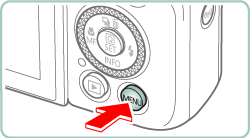
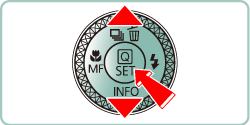
2. Press the 
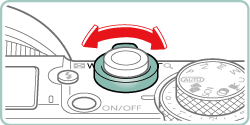
3. Use the zoom lever to choose the [ 
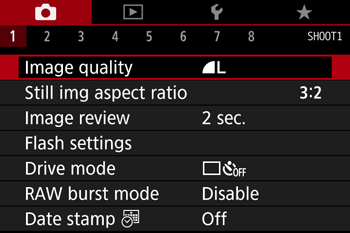
4. Press the 


5. Press the 


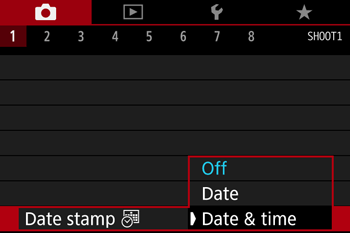
6. Press the 


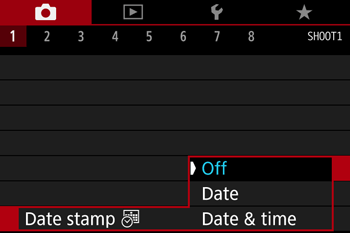
7. Press the 
8. [ 

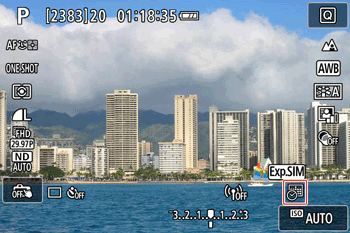
Caution
If the icon does not appear, press the 
9. The [Date Stamp] will be added to the images as shown below:


Caution
Shots taken without adding a date stamp can be printed with one as follows.
However, adding a date stamp this way to images that already have one may cause it to be printed twice.
- Print using printer functions
- Use camera DPOF print settings to print


